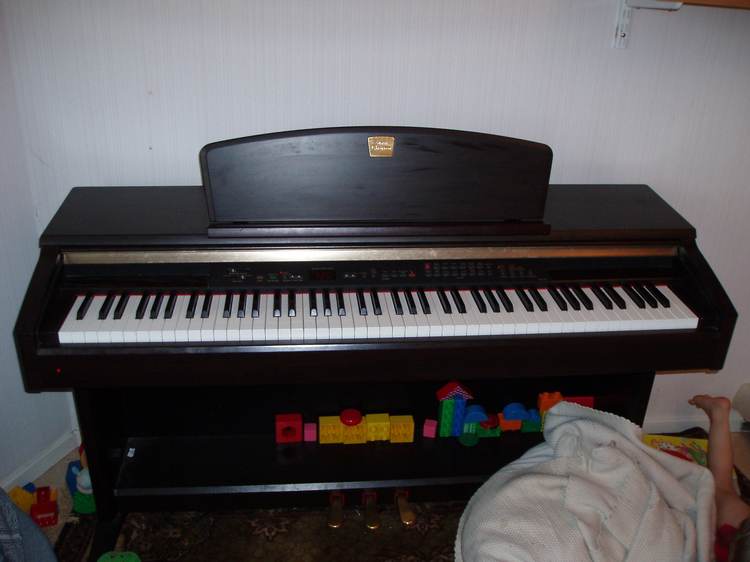
My Clavinova (bought 2004) started to develop some very sticky white-note keys after a couple of years. I first blamed this on children inserting `foreign objects' between the keys, and thought I could just remove any such coins etc. and thus get it working again. I therefore wanted to open up the Clavinova and get at the keyboard. I didn't consider using the warranty if the effect of these objects should turn out not entirely reversible; it was clearly not an intended treatment of the machine, even if one could hope for good resilience against such common mistreatment.
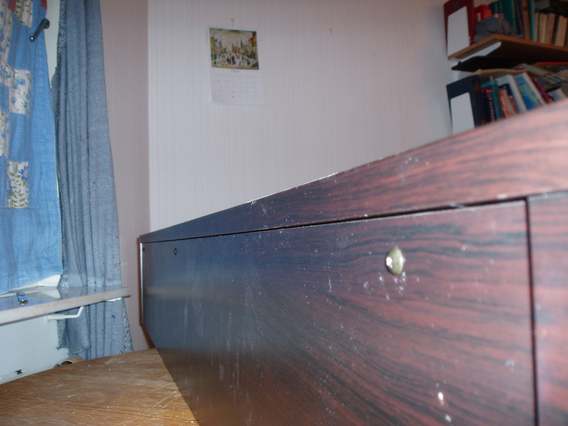
I found no helpful instructions on the web, perhaps through bad search terms. What seemed the right way to start was to undo some screws below the keyboard, try to get that panel off, then remove whatever was believed to be stuck there. To do this, the whole top part was taken off the base, and some twenty or so screws were taken out, to no avail. It turned out that the procedure is far more simple, and doesn't require the removal of the top part at all. So, on to the pictorial guide. Don't be confused by the fact that mine has the main part sitting on a table rather than on the normal base!
This page was first made to guide others in disassembly and reassembly, and to point out that the sticking problem can be mitigated by swapping keys. In the original page I mentioned that it seemed the keys rather than other objects were the main problem, but then I still thought the keys' problem must have come from the other objects.
Some years after making this page, other keys have had similar problems in spite of my much higher vigilance, and my confidence that no further abuses have been made! It seems that there is a known problem with some models/serials (see top page), so the sticky problem is likely to keep recurring unless one actually gets some replacements.
Nevertheless, the following information may be useful for disassembling to remove foreign objects, and for temporary fixes to sticky keys. It should also, by showing the construction, make clear that (e.g.) tea-spills on the keyboard itself really shouldn't be a problem, as all the electronic parts are slightly raised, well at the back, and the sensors on the keys (see other page) are well protected too. If only laptop computers were all so well designed against damage.
Here goes.
Remove the three easy screws on the back panel.
Slide the top panel forward an inch or so,
then lift it up and away.
To take off the keyboard lid, close the lid, then
remove the small screw and the plastic clip that it holds,
at both sides (see the green circle around the left
side one in the picture).
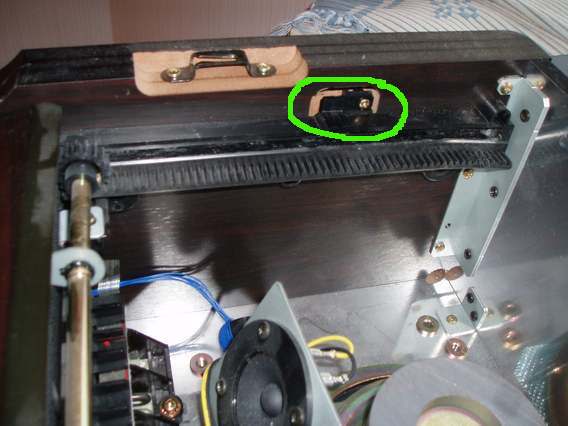
Move the lid up until its cogged `axle' can be lifted
out through the gaps left by the removed plastic clips.

Then the lid needs to be twisted in order to get the
two guides on its lower part to come out of their slots.
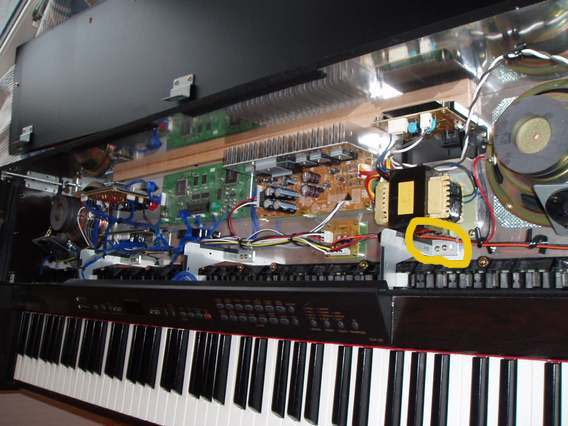
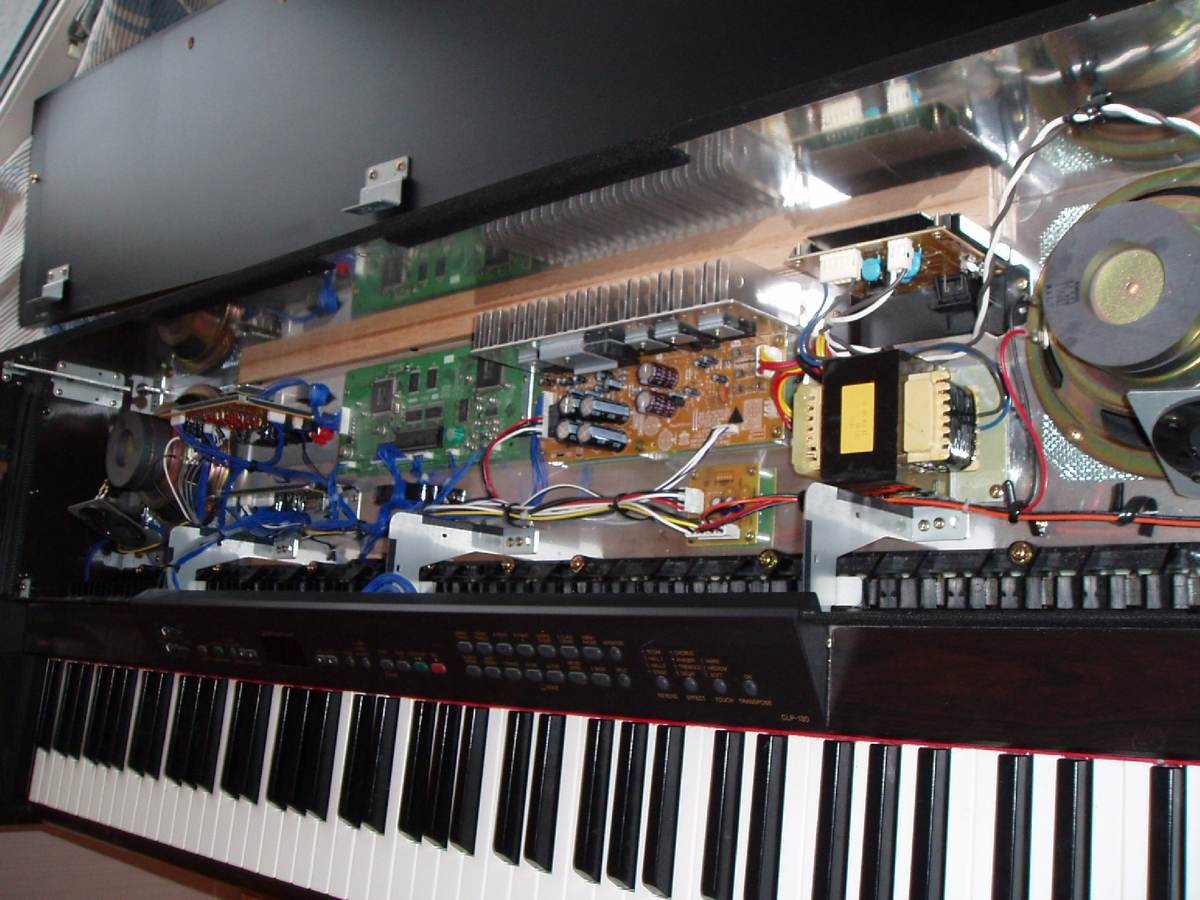
Now the innards are well exposed. Perhaps you'd like a
bigger version
of this picture? The panel with the `voice' buttons and so on
now needs to be removed. It has just a vertical screw at either
end, and three pairs of screws holding its metal feet to the
wooden base, one of which feet is highlighted in the picture.
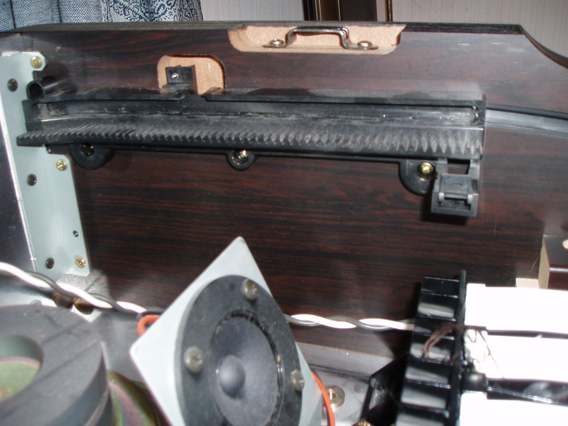
To allow easy removal of the keyboard, remove the black
plastic lid-runner at one side, by removing its three-below
and one-above screws (perhaps this isn't really
necessary, but it seemed helpful).
Remove the wooden block at each end of the keyboard, by
removing the one screw that holds each to the wood below.
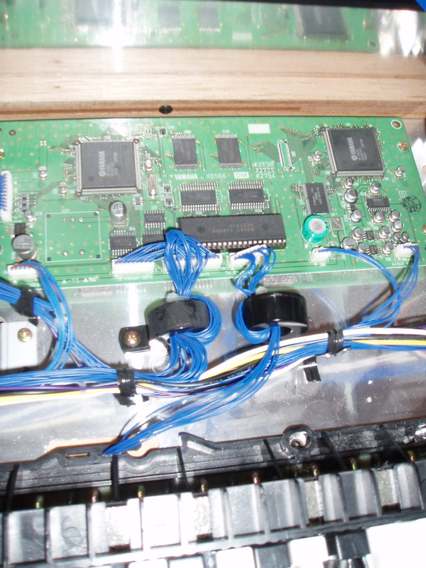
Remove the several, large, screws that hold the back of the
keyboard down to the base. Unclip the connector that joins
the keyboard's wires to the circuit board. Unscrew the ferrite
ring (the black thing that goes round the wires) from the
base, and free the keyboard's wires from the surrounding
ones.
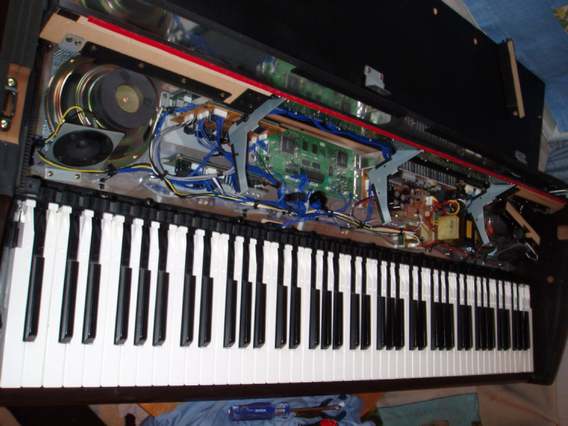
Now it's ready for keyboard removal. Here's a last glance
at that state. The keyboard needs to be lifted from the
back and slid backwards a little way, to free the front
part.
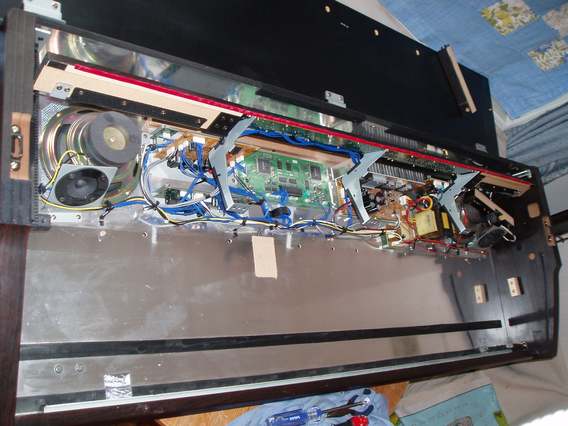
Here it is: a keyboard-less Clavinova.
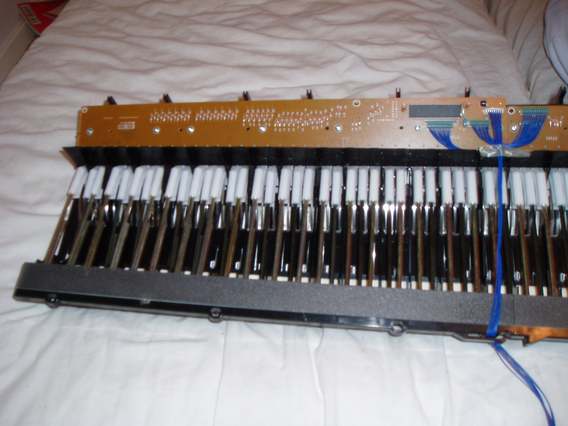
The bare keyboard.
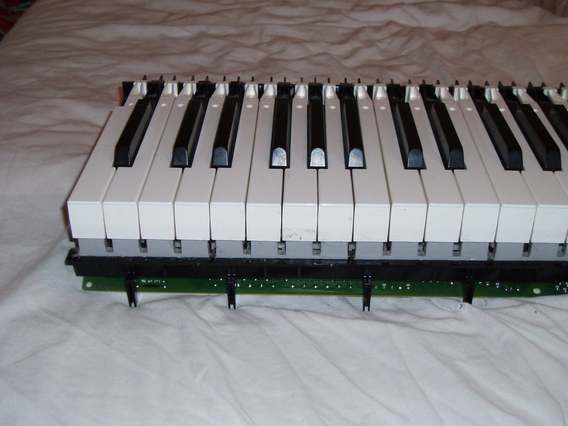
Its underside (back nearer to the viewer) showing the
weighting rods.
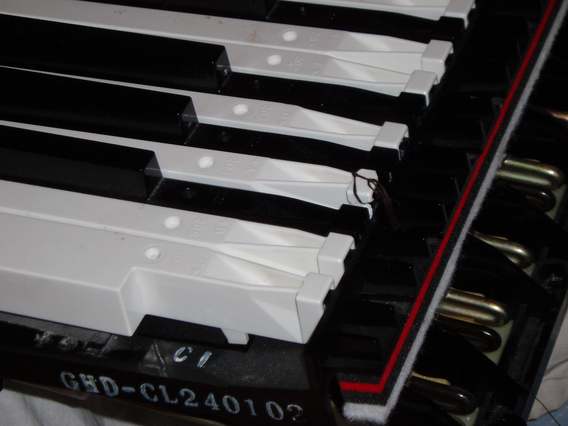
A view of the backs of the keys, from above.
(The third
white one (whose back was cracked) shows signs of my
attempt at holding it in place with tortuously tied
cotton. A much better method turned out to be a paper
wedge up to the voice-button panel, on reassembly.)
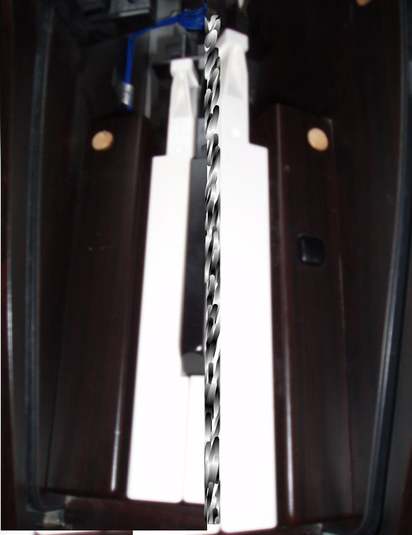
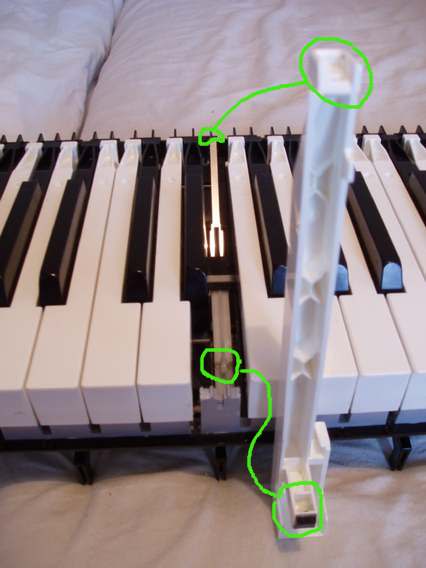
Here's an attempt at showing what the sides of the keys
look like, and what they sit on. The key hooks onto the
base plastic near the front, then the metal fingers
push up quite near the back, and the back of the key
clips into place on the base.
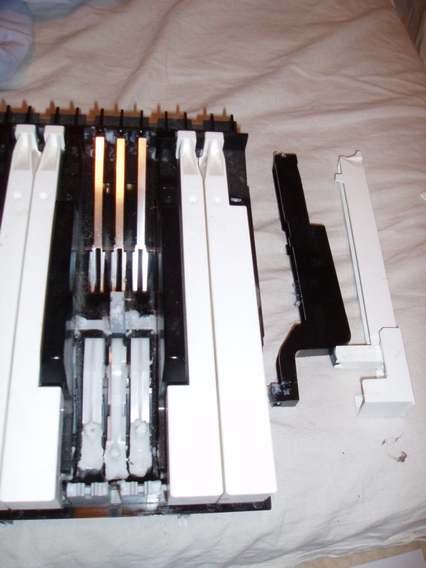
Here is shown the two clipping places.
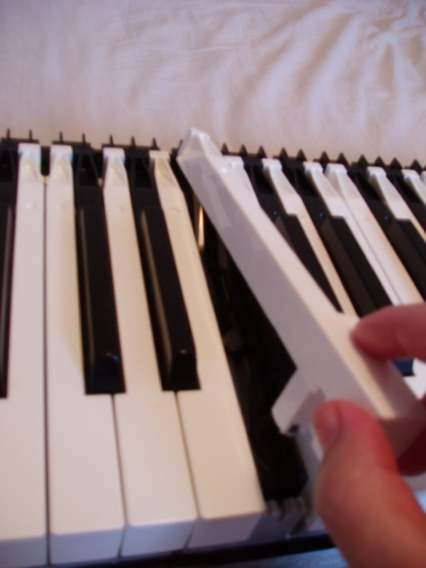
Note that black notes might need the removal
of both adjacent white notes for their
insertion. Unclipping is easily done by inserting
a flat screwdriver blade under the back part, and
twisting a little.
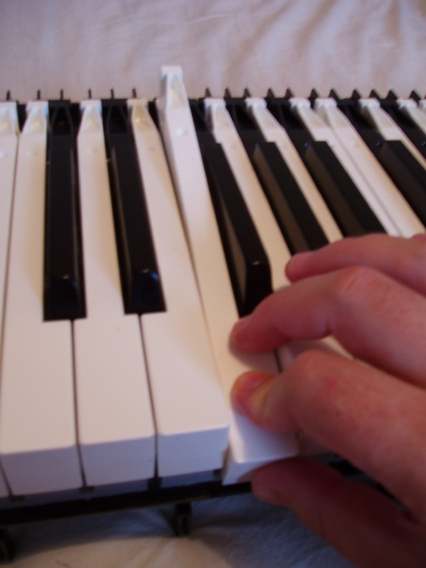
Replacing a removed key is quite easy, but takes a while the first time.
This video [H264 in MKV] shows the process, with the first attempt being bungled due to not engaging the front slot and tongue properly (the key sits high).
First, let the metal finger be in the key.
Then push down well at the front, and slide slightly
back, to engage that slot.
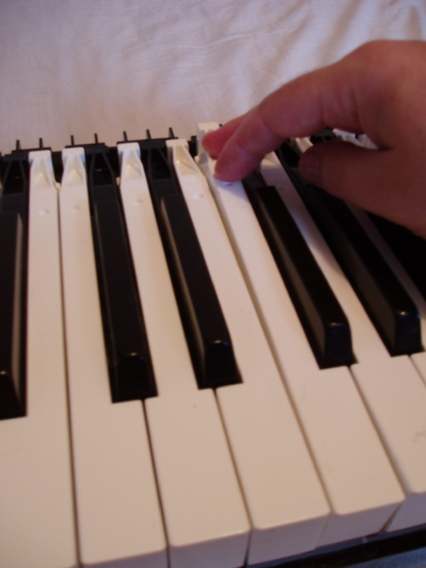
Roll the pressure to the back, and click the very back
of the key into place.
The only foreign object to emerge (during removal of
the keyboard from the base) was a single coin (others had
been removed from outside at the times of damage).
Clearly the coins' effect was a lasting one, of bending or breaking.
One of the bad keys was fractured at
the back so it wouldn't clip in place (this was
solved by wedging with paper on reassembly
as mentioned above).
The other bad key was bent so that it rubbed at the back on an
adjacent one, a problem which disappeared after swapping it
with a key from nearer the end of the keyboard; the note where
where the bad key had been put did work much better than
the original one, perhaps because of the surrounding keys
being a bit bent too around the damaged note. So, with the paper
wedging too, both stuck keys were mended without any new parts
being needed. Even if new keys had been needed, it's reassuring
to see that the mechanism below was alright in spite of its abuse.
Reassembly is, as it is often put, `is the reverse of disassembly'.
It gave no problems.
So, here's the finished thing: less dust, all keys working well.
Perhaps some day I'll try getting serial-port from this thing to
linux or BSD, and report on that.
I hope I won't have any cause to write about
mending (or trying to mend) anything more severe than a stuck key.
Page started: 2008-08-17
Last change: 2011-07-27